Bringing a sole to life is not a linear act. It is a sequence of interdependent decisions — material, geometry, tooling, process parameters — where each choice constrains the next. A design that looks perfect on screen can fail at the mould. A mould that works flawlessly with one compound may produce warped parts with another.
This guide walks through the full injection moulding process for footwear components, from the first CAD file to the final quality checkpoint. It is written for product developers, footwear engineers, and brand-side teams who want to understand what happens between concept and finished outsole — and where the critical decisions are made.
Process Overview — The Journey from CAD to Finished Sole
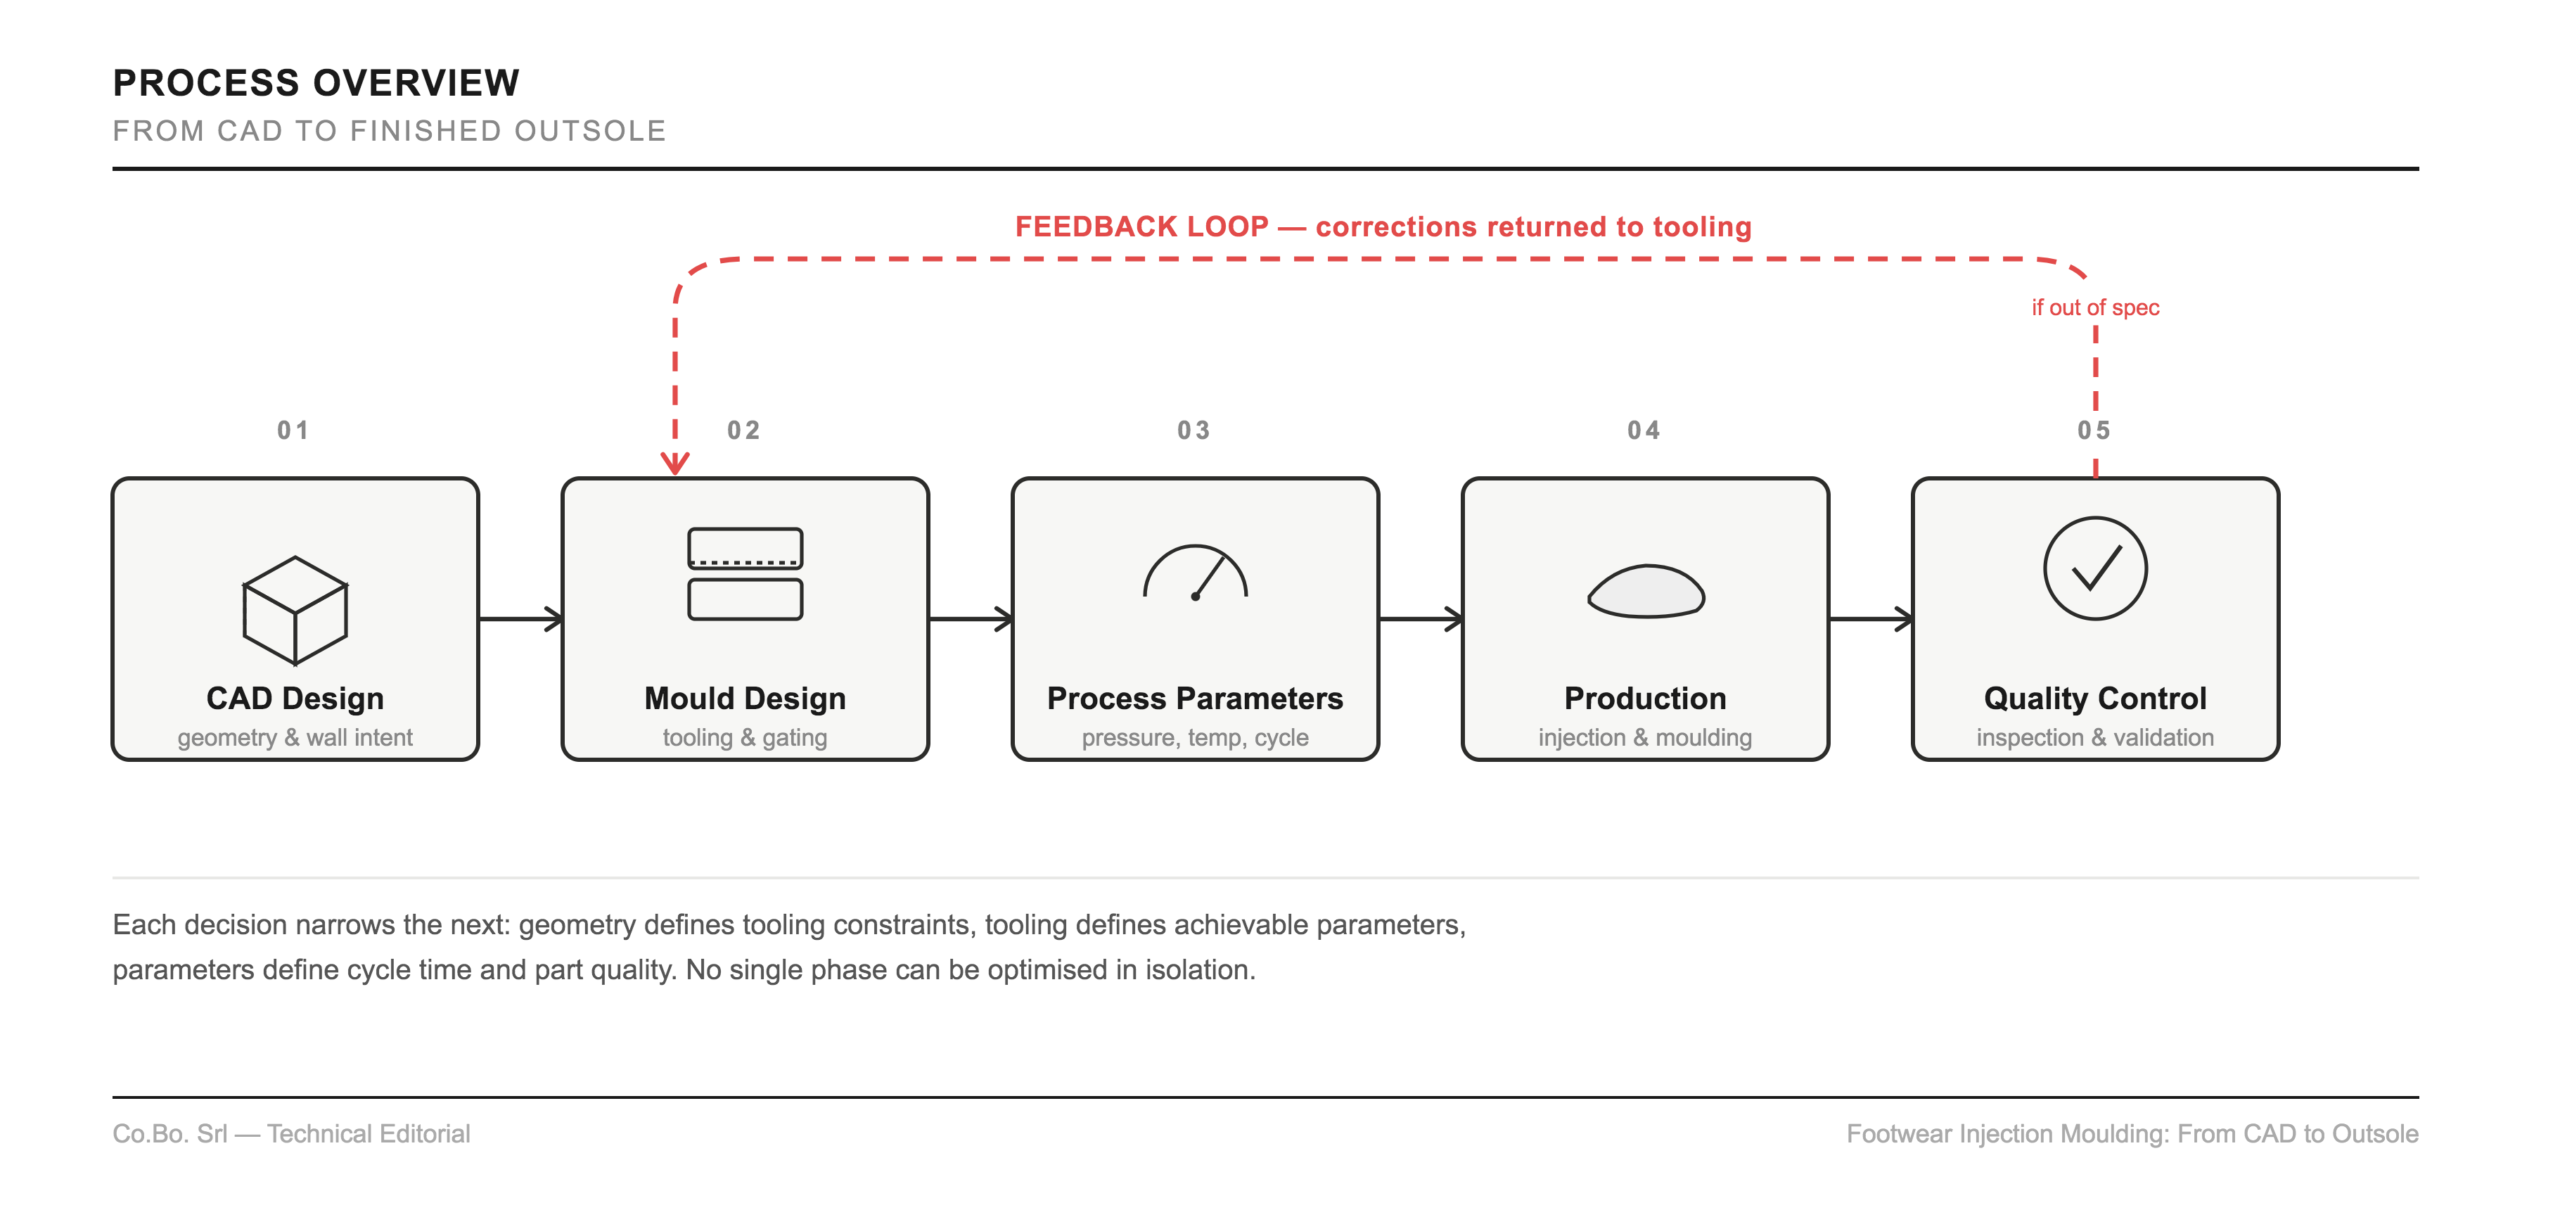
The injection moulding process for footwear components follows a defined sequence. Understanding it end-to-end is the first step toward making better decisions at every stage.
Each phase builds on the previous one — and each carries its own set of variables that influence the final result. A geometry decision made during CAD design affects how the mould must be built. The mould design determines which process parameters are achievable. The process parameters, in turn, dictate cycle time, part quality, and production efficiency.
This interdependence is what makes injection moulding both precise and demanding. There is no single phase that can be optimised in isolation: the process must be understood as a whole, from the first design intent to the last quality check before the component leaves the line.
The diagram below maps the full sequence — from CAD to finished outsole — including the feedback loop that connects quality control back to tooling when corrections are needed.
Step 1 — CAD Design and Geometry Validation
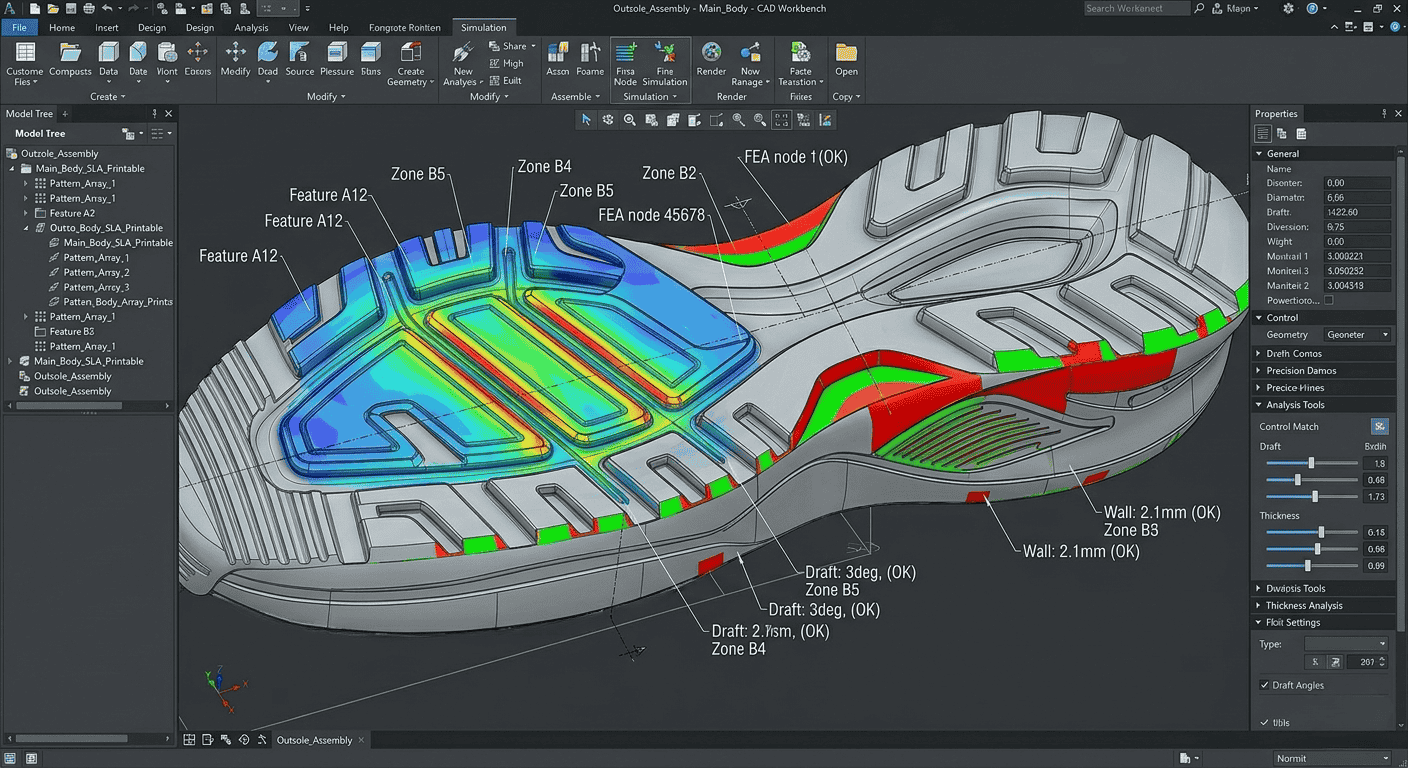
The CAD phase defines the geometry of the component: shape, wall thickness, surface texture, undercuts, and dimensional tolerances. For outsoles and midsoles, these decisions directly affect mouldability — not every shape that can be designed can be efficiently produced through injection moulding.
Key considerations at this stage include wall thickness consistency (uneven walls cause differential cooling and warpage), the presence and location of undercuts (which complicate mould opening and may require side actions), and surface finish specifications (which influence gate placement and material flow).
A well-prepared CAD file reduces tooling cost, shortens mould validation time, and lowers the risk of defects downstream.
Step 2 — Fast Prototyping with 3D Printing
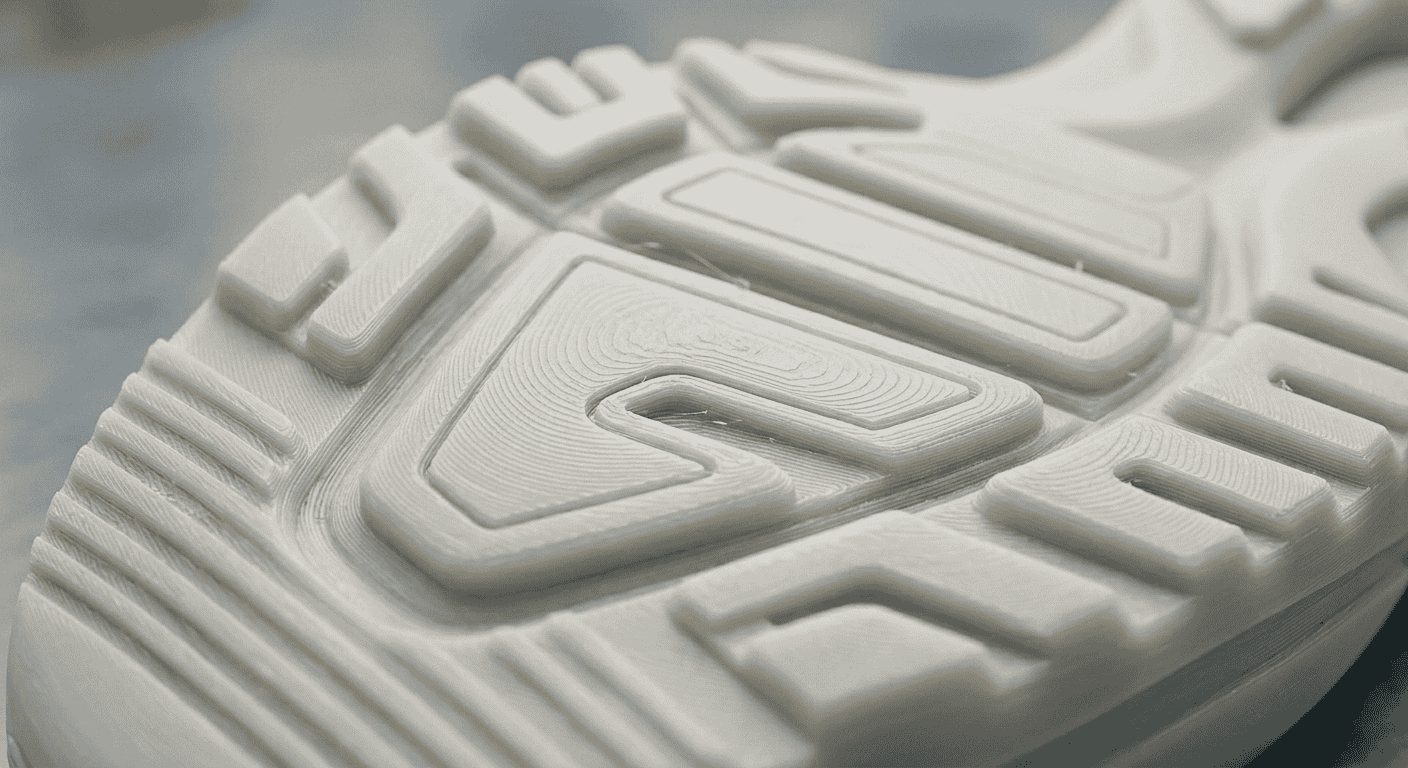
Before committing to a steel or aluminium mould — an investment that is both costly and largely irreversible — 3D printing allows brands and manufacturers to validate the design in physical form.
A 3D-printed prototype is not a substitute for an injection-moulded part. It uses different materials, different processes, and different mechanical properties. What it does is allow teams to verify geometry, assess proportion and fit, identify critical undercuts or draft issues, and align stakeholders around a physical reference — all before tooling begins.
At Co.Bo., fast prototyping is integrated into the development process as a risk-reduction step: it compresses the iteration cycle and ensures that the mould design phase starts from a validated geometry rather than an untested drawing.
Step 3 — Mould Design: Gates, Vents, and Draft Angles
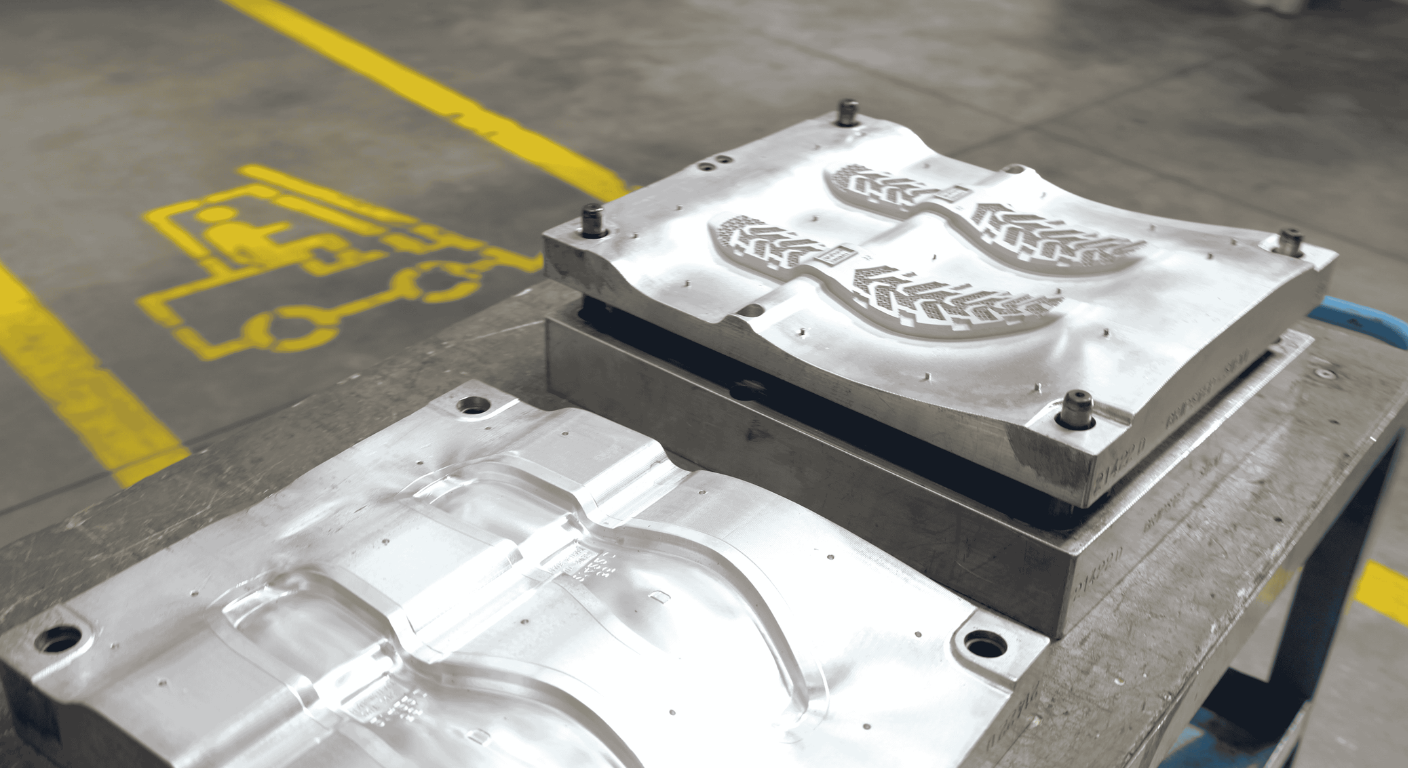
The mould is where the design meets the process. Three elements of mould design are particularly critical for footwear components:
Gates are the entry points through which molten material is injected into the mould cavity. Their number, size, and position determine how the material flows, where weld lines form, and how the component behaves under load. A poorly positioned gate can cause incomplete filling, surface defects, or structural weak points.
Vents are micro-channels that allow trapped air to escape as material fills the cavity. Without adequate venting, air becomes compressed, causing burn marks, surface blemishes, or short shots — areas of the part that fail to fill completely.
Draft angles are the slight tapers applied to vertical walls so the finished part can be ejected from the mould without force or distortion. For textured outsoles, draft angles must be carefully calculated: too little and the part sticks; too much and the texture loses definition.
Getting these three elements right is the foundation of a productive mould — and correcting them after tooling is complete is expensive.
Step 4 — The Injection Moulding Cycle
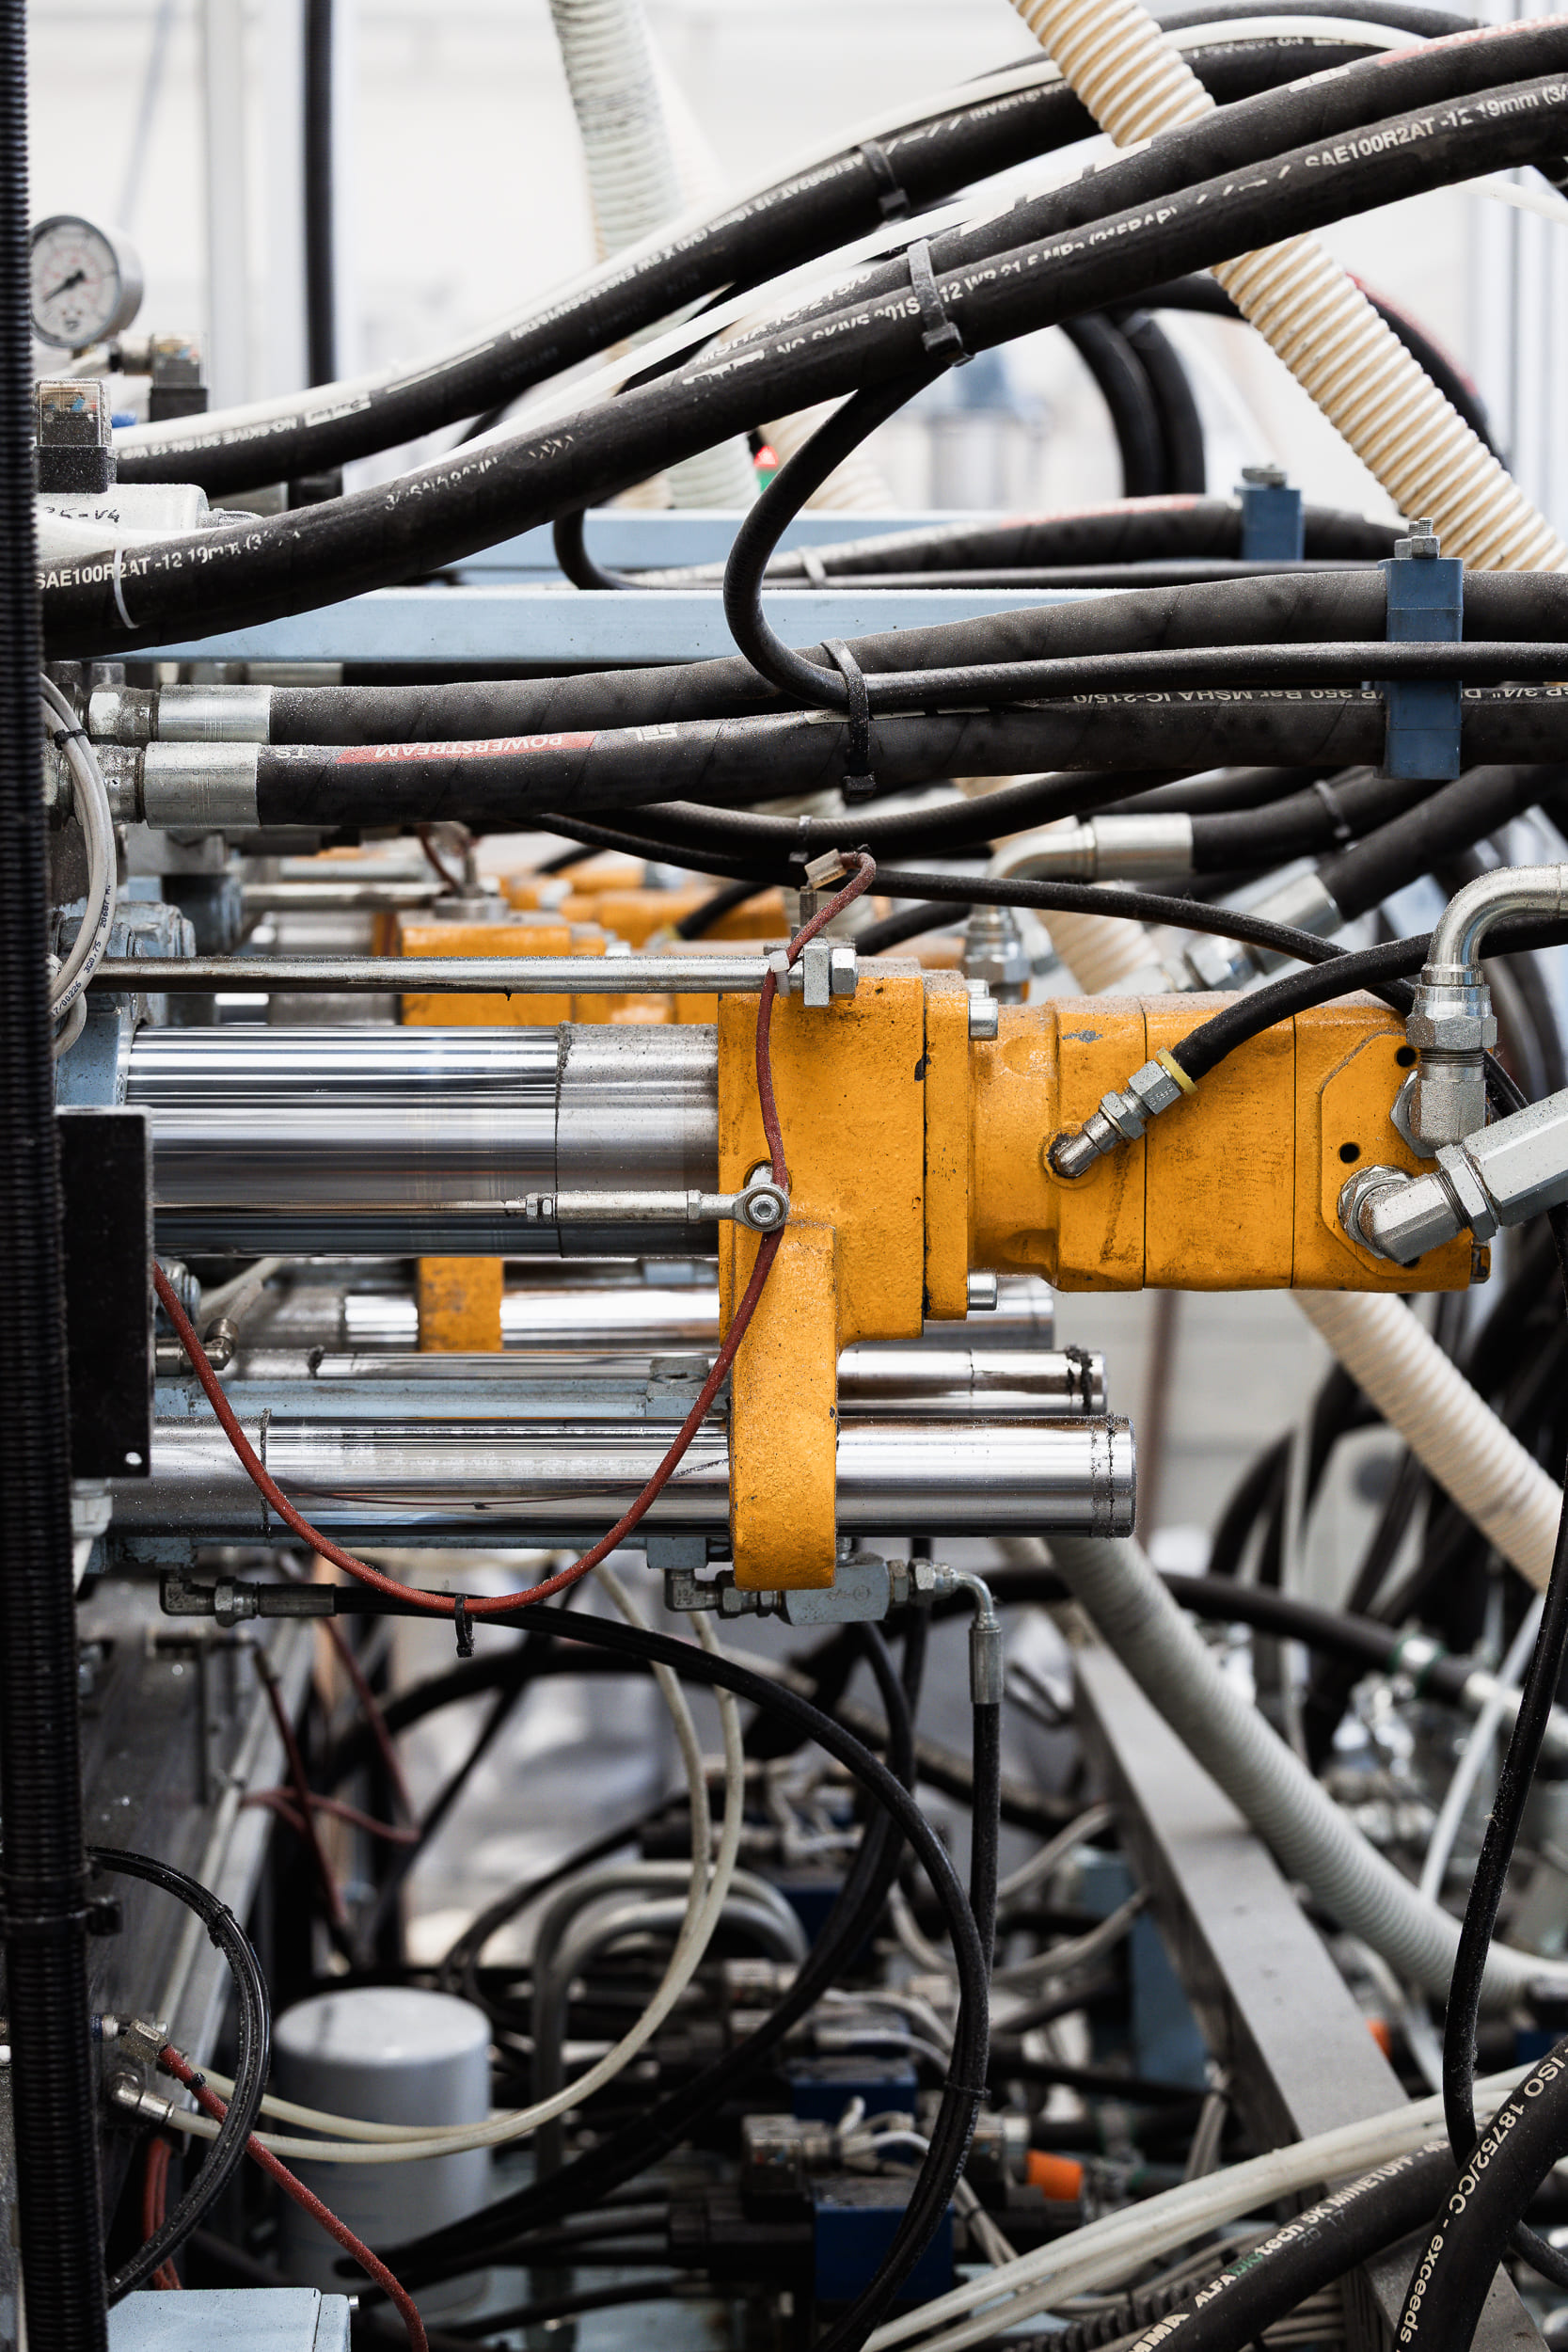
The injection cycle is the core of the process, and it consists of four phases:
Filling — molten material is injected into the cavity at controlled pressure and speed. Fill rate affects how the material flows, where knit lines form, and how surface quality is maintained across the part.
Packing — once the cavity is filled, additional pressure is applied to compensate for material shrinkage as it cools. Insufficient packing leads to sink marks and dimensional inaccuracies; excessive packing causes flash and internal stress.
Cooling — the longest phase of the cycle. The material solidifies inside the mould, and the cooling time directly determines cycle time. For footwear compounds — TPU, EVA, TR, PVC — cooling behaviour varies significantly, requiring compound-specific parameters. Mould temperature, water circuit design, and part geometry all influence how evenly and quickly the part cools.
Ejection — the mould opens and the part is extracted. Ejection force, pin placement, and part temperature at the moment of ejection must be calibrated to avoid deformation or surface marking.
Step 5 — Common Defects and How to Address Them
Even in well-controlled processes, defects occur. Understanding their root causes is what separates efficient production from costly rework.
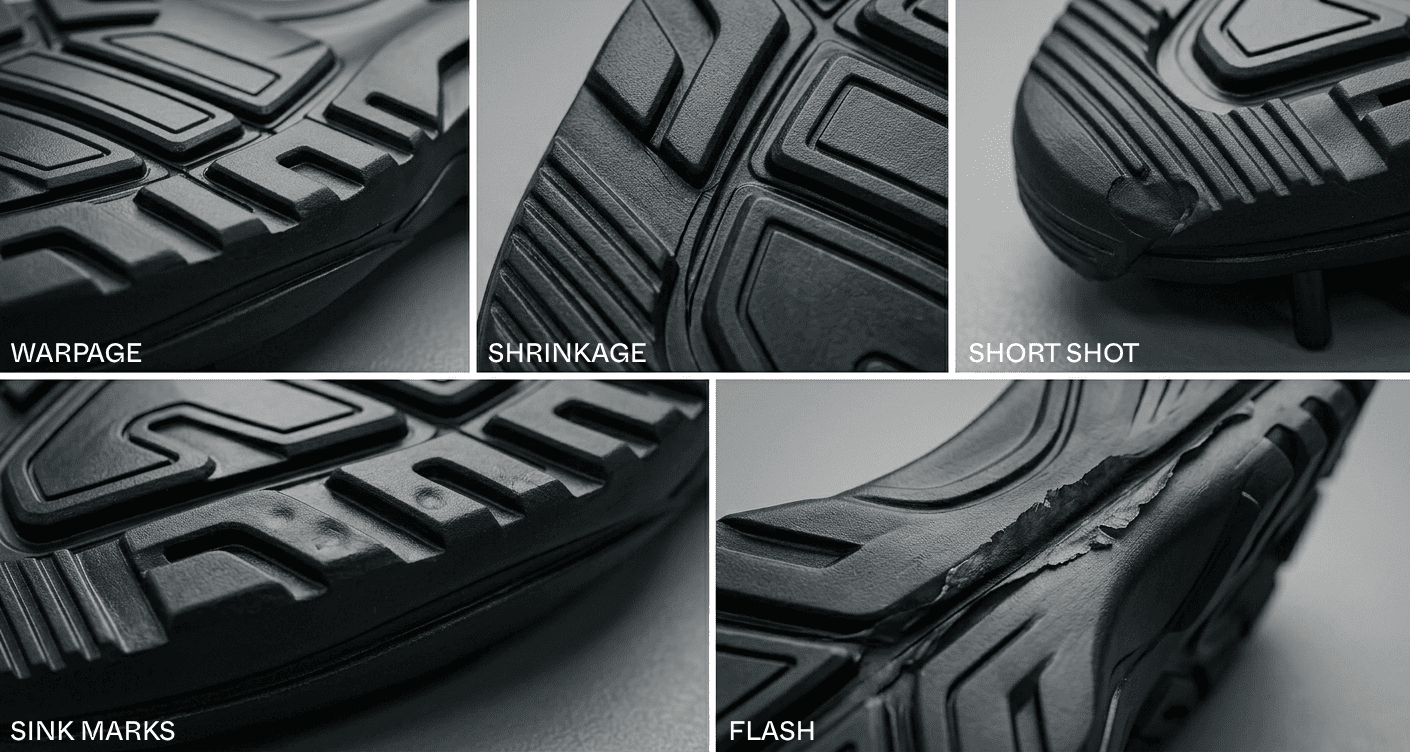
Warpage — the part deforms after ejection, losing dimensional accuracy. It is typically caused by uneven cooling, asymmetric wall thickness, or excessive residual stress during packing. Solutions include adjusting cooling channel positioning, revising wall geometry, or modifying packing pressure profiles.
Shrinkage — all thermoplastics shrink as they cool, but uncontrolled or uneven shrinkage leads to dimensional non-conformity. Shrinkage rates vary significantly by material: TPU shrinks differently from EVA or TR. Compound-specific shrinkage data must be built into the mould design from the start.
Short shots — the cavity fails to fill completely, leaving voids or incomplete geometry. Usually caused by insufficient injection pressure, poor venting, or material viscosity issues.
Sink marks — depressions on the surface, typically above thicker sections, caused by insufficient packing pressure or premature gate freeze.
Flash — thin fins of excess material at the parting line, caused by excessive injection pressure, worn mould surfaces, or insufficient clamping force.
Each of these defects has a traceable cause and a corrective action — but the most effective approach is to design them out before production begins, through proper mould design and material-specific process parameters.
Step 6 — QA Checkpoints Along the Process
Quality control in injection moulding is not a final-stage activity. It runs in parallel with production, at defined checkpoints:
First-article inspection — dimensional measurement of the first parts produced from a new mould or after a parameter change, to verify conformity before full-run production.
In-process visual inspection — surface checks for flash, sink marks, burn marks, and colour consistency.
Dimensional sampling — periodic measurement of critical dimensions throughout the production run to detect any drift caused by thermal expansion of the mould, material batch variation, or machine parameter drift.
Functional testing — for performance-critical components, mechanical testing (flexion, abrasion, compression) validates that the part meets specification, not just that it looks correct.
The goal is to intercept non-conformities as early in the cycle as possible — a defect caught at the first-article stage costs a fraction of one caught after a full production run.
From CAD to Outsole — What Makes the Difference
The injection moulding process for footwear is well-established, but consistently producing high-quality components requires more than following a sequence of steps. It requires compound expertise — knowing how each material behaves under specific process conditions — combined with mould design experience and systematic process control.
For brands and product developers, the value of a manufacturing partner lies precisely here: not just in having the equipment to run the process, but in the accumulated knowledge of how to optimise it across materials, geometries, and production volumes.
If you want to discuss a specific component or understand how injection moulding could work for your next project, get in touch with our team or request a technical call.